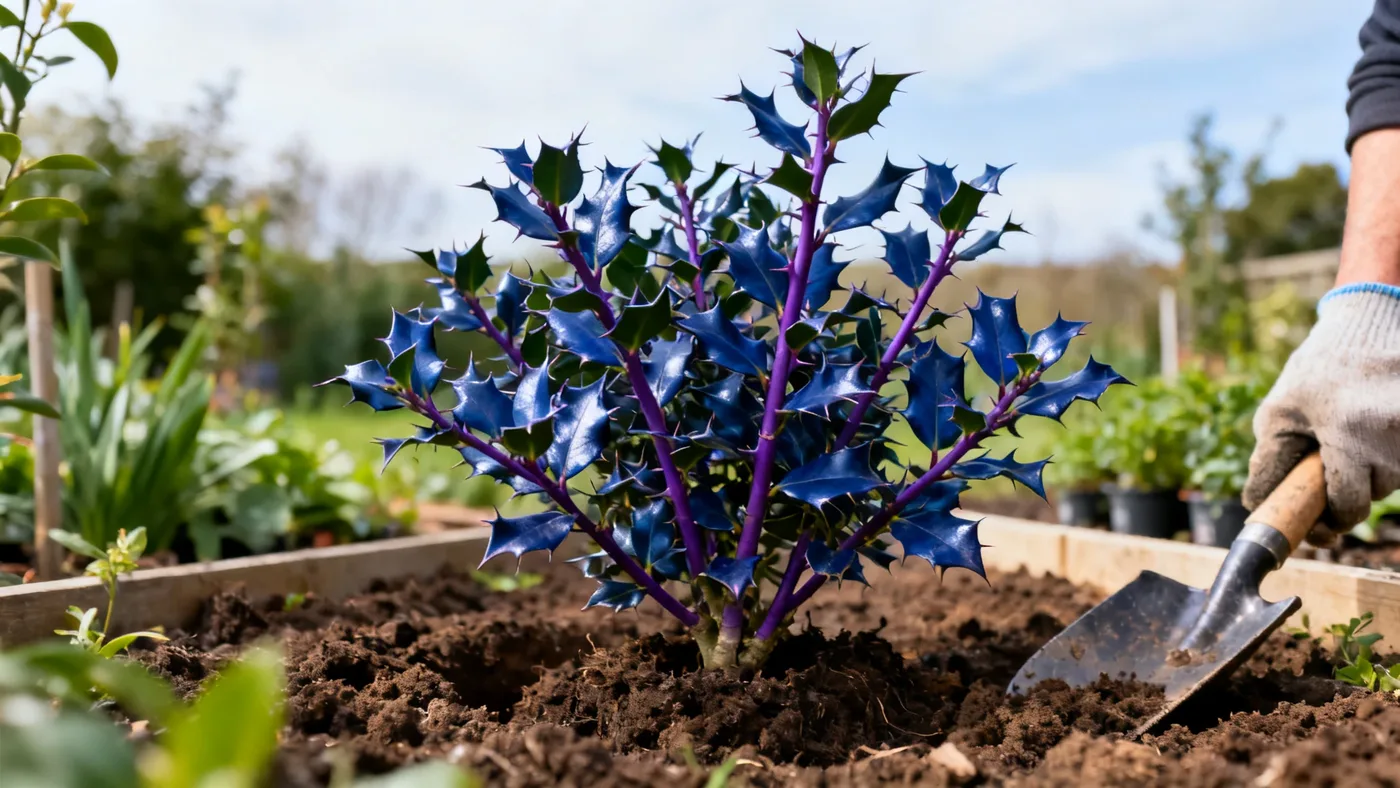
How to Transplant China Girl Holly Without Losing It
Moving an established China Girl Holly shrub can feel risky. You've waited years for it to fill out, produce those bright berries, and anchor your landscape. The good news: China Girl Holly is tougher than it looks, and with proper timing and technique, you can relocate it without setback.
Whether you're restructuring a garden bed, making room for expansion, or correcting an earlier planting mistake, transplanting a holly requires planning but isn't complicated. The key is moving the plant during dormancy, keeping the root ball intact, and giving it consistent water through the first growing season in its new home.
When to Transplant China Girl Holly
Timing makes the difference between a quick recovery and a long, stressed season. China Girl Holly responds best to transplanting in early spring or early fall, which matches the general planting window for the species. These periods give the plant time to establish roots before temperature extremes arrive.
Early spring (late February through March in zones 5 to 6, April in zone 5) is ideal because new growth hasn't started yet, but the soil is warming and beginning to thaw. Early fall (August through September) works just as well, giving the shrub a full autumn to settle in before winter dormancy.
Avoid transplanting in midsummer heat, deep winter freeze, or when the plant is actively producing new foliage. High temperatures stress newly moved plants, frozen ground makes digging impossible, and active growth puts energy into shoots instead of root recovery.
Size matters too. Young plants or those in containers transplant more readily than large, multi-decade specimens. A shrub that has reached its mature width of 6 to 8 feet will have a large root ball and needs extra care during the move.
Materials and Tools You'll Need
Gather these items before you start digging:
- Shovel and spade (sharp spades cut through roots cleanly)
- Pruning saw or lopper for any circling roots or obstacles
- Burlap or heavy cloth to wrap the root ball
- Rope or twine for securing the wrapped root ball
- Wheelbarrow or garden cart to move the plant
- Amendment materials: peat moss, compost, or aged bark mulch
- Soil pH test kit (optional, but helpful if moving to unfamiliar ground)
- Watering can or soaker hose
- Landscape fabric to prevent weed competition during recovery
- Mulch for the finished planting bed
Step-by-Step Transplanting Instructions
Step 1: Prepare the New Location
Before digging up your holly, make sure the new spot is ready. China Girl Holly grows in full sun to part shade and produces the densest foliage and best berry set in full sun. Check that your new location offers at least 4 to 6 hours of direct sun daily.
Test the soil if you're moving to a bed with unknown history. China Girl Holly prefers well-drained, humusy soil with a pH around 5.0 to 6.5. If your soil leans toward alkaline or dense clay, amend it with peat moss or sulfur to lower pH and improve drainage. Mix 2 to 3 inches of compost into the top 8 to 12 inches of the planting bed.
Space the new planting location at least 6 to 8 feet from other shrubs if you're planning a screen or hedge, or wider if this will be a specimen plant. Adequate air circulation helps prevent fungal leaf spot and powdery mildew down the line.
Step 2: Water the Plant One Day Before Digging
Water your China Girl Holly thoroughly the day before transplanting. A well-hydrated root ball holds together during the move and reduces transplant shock. Aim to soak the soil 8 to 10 inches deep.
Step 3: Dig the Root Ball
Begin digging a circle around the holly about 1.5 times wider than the canopy spread. For a shrub with a 6 to 8 foot spread, dig a circle 9 to 12 feet in diameter to capture the feeder roots without cutting too many main roots.
Dig straight down until you reach 12 to 18 inches deep, depending on plant size. Evergreen shrubs like China Girl Holly have roots that spread outward more than downward, but you still need depth to get under the taproot zone.
Gently undercut the root ball by angling the shovel inward beneath the plant. Work slowly on all sides. You're not trying to speed this up; rushing creates broken roots and soil loss.
Step 4: Lift and Wrap the Root Ball
Rock the plant gently side to side to loosen it from the surrounding soil. Slide burlap or heavy cloth underneath and pull it up around the root ball, gathering it at the base of the stem. Tie it securely with rope, making sure the burlap doesn't tear away during transport.
If the root ball is very large or heavy, consider tilting the plant onto a piece of plywood to slide it into a wheelbarrow or garden cart. Don't drag the plant across the ground; carry the root ball to minimize damage.
Step 5: Transport to the New Location
Move the plant to its new home as quickly as possible. The longer the root ball sits exposed or in transit, the more stress the plant endures. If transport takes more than an hour, mist the root ball with water to keep it from drying.
Step 6: Plant in the Prepared Bed
Dig a hole in the new location slightly wider and at the same depth as the original root ball. The top of the root ball should sit level with or slightly above the surrounding soil surface. Planting too deep causes root rot; planting too shallow exposes roots to air and desiccation.
Remove the burlap and carefully set the root ball in the hole. Backfill with amended soil, pressing gently but firmly as you go. Eliminate air pockets without compacting the soil around the roots.
Create a shallow berm (a ring of soil) around the base about 12 inches out from the stem to hold water during irrigation.
Step 7: Water Deeply and Mulch
Water the newly planted holly until water runs out the drainage berm. Soak the root ball and surrounding soil to a depth of 8 to 10 inches. This settles soil around the roots and eliminates pockets.
Spread 2 to 3 inches of mulch (aged bark, wood chips, or pine needles) around the base, keeping it 3 to 4 inches away from the stem to prevent rot. Mulch keeps soil moisture consistent and temperature stable, two critical factors during recovery.
Aftercare and Recovery
The first year after transplanting is the critical window. Your holly has lost feeder roots during digging and needs consistent moisture to regenerate them.
Watering
Water the transplant weekly if rain doesn't provide 1 to 2 inches per week. Check the soil 4 to 6 inches deep; it should feel slightly moist, never soggy or bone-dry. A soaker hose left on for 30 to 45 minutes every 7 to 10 days is better than frequent shallow sprinkling, which encourages surface roots.
After the first full growing season, your China Girl Holly becomes moderately drought tolerant and needs less frequent watering. But don't skip water entirely; the plant still performs best with consistent moisture.
Pruning and Fertilizing
Don't prune the transplant for at least the first year. Every branch and leaf the plant keeps helps it recover and rebuild roots. Any pruning removes potential photosynthesis that powers root growth.
In early spring of the second year, you can lightly shape the plant if needed. Avoid heavy shearing, which removes flower buds and reduces the next year's berry display.
Fertilize lightly in early spring with an acid-loving shrub fertilizer, following the product label rates. Overfeeding can push tender growth that invites pests and disease. One application per year is plenty.
Monitor for Stress
Watch for leaf scorch (brown or reddish leaf edges), which signals inconsistent watering or exposure to harsh wind. Ensure the plant gets afternoon shade if you live in a hot climate, and provide a wind screen if the new location is exposed.
Common Mistakes to Avoid
Digging too small a root ball. Many gardeners underestimate how far roots spread. A root ball that's too small loses critical feeder roots and delays recovery.
Transplanting in the wrong season. Moving a holly in summer heat or deep winter stress forces the plant to fight climate extremes instead of focusing on root regeneration.
Planting too deep. Holly roots are sensitive to waterlogging. If the root collar sits below soil level, the plant is vulnerable to collar rot and disease.
Skipping soil amendment. China Girl Holly's acidic soil preference (pH 5.0 to 6.5) is non-negotiable in alkaline regions. Amending the bed up front saves years of poor performance.
Underwatering during the first year. The transplant can't access its established root system yet, so it depends entirely on water in the new soil. Inconsistent watering stalls recovery and invites stress.
Pruning immediately after transplanting. Let the plant stabilize for a full year before any shaping beyond removing dead wood.
What to Expect: Recovery Timeline
Recovery speed depends on plant size, season of transplant, and aftercare. Here's a realistic timeline:
Weeks 1 to 4: The plant may look unchanged or slightly stressed. It's establishing new root hairs, not producing visible growth.
Weeks 5 to 12: New growth appears, typically lighter in color. Root establishment accelerates. Watering remains critical.
Months 4 to 12: The plant fills out and regains vigor. Berry production may be reduced in the first year, which is normal.
Year 2 onward: Full recovery and normal growth resume. You can resume light pruning and regular feeding.
Some transplanted hollies experience transplant shock, a temporary setback with leaf yellowing or wilting. This typically resolves within weeks if watering stays consistent. If it persists beyond 4 to 6 weeks, investigate the soil pH and drainage.
Quick Reference: Transplanting Checklist
| Task | Timing | Notes |
|---|---|---|
| Prepare new site | 1 week before | Test pH (5.0-6.5), amend soil, ensure 6-8 ft spacing from neighbors |
| Water the plant | 1 day before | Soak to 8-10 in. deep for cohesive root ball |
| Dig root ball | Early spring or fall | Diameter 1.5x canopy spread, depth 12-18 in. |
| Wrap and transport | Same day | Keep root ball intact, mist if transport >1 hour |
| Plant in new bed | Same day | Root collar level with soil surface, backfill gently |
| Water and mulch | Immediately | Deep soak to 8-10 in., 2-3 in. mulch, 3-4 in. from stem |
| Weekly watering | Year 1 | 1-2 in. per week, adjust for rainfall |
| Light fertilizing | Spring of year 2 | Acid-loving shrub formula, one application only |
| Resume pruning | Year 2 onward | Light shaping only; heavy pruning removes berry buds |
For complete care guidance after transplanting, see our guide to China Girl Holly care and growing, which covers watering, soil maintenance, and long-term management.